Step 1 - Use case: calculator
As an example of software development, we assume a use case that requires the creation of a calculator.
Step 2 - System architecture: calculator
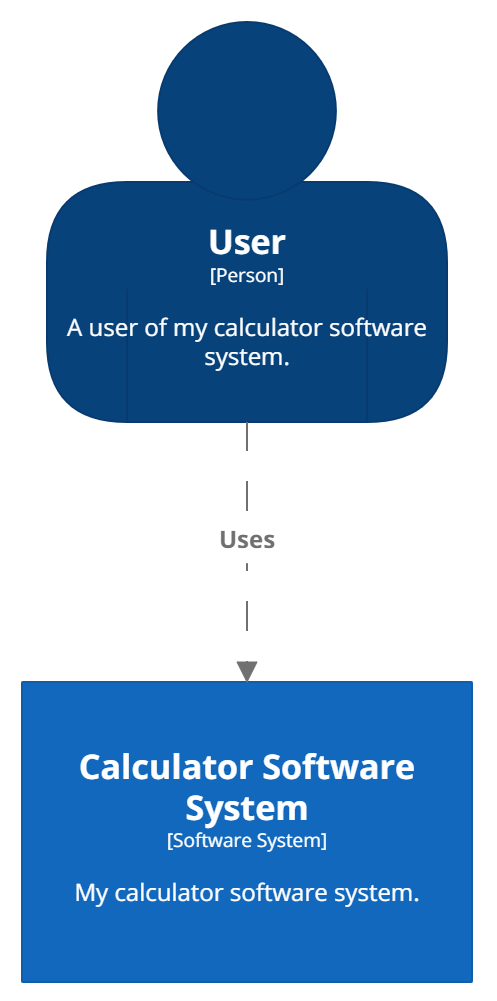
As a calculator is a software system in its simplest format, we first create a diagram to represent the use case visually, using the C4Model (Context, Container, Component, Classes/Code).
See also: https://c4model.com and https://structurizr.com/workspace/38150#SystemContext
The high level diagrams are programming language independent.

Level 1: System Context diagram
A System Context diagram is a good starting point for diagramming and documenting a software system, allowing you to step back and see the big picture. Draw a diagram showing your system as a box in the centre, surrounded by its users and the other systems that it interacts with. Detail isn't important here as this is your zoomed out view showing a big picture of the system landscape. The focus should be on people (actors, roles, personas, etc) and software systems rather than technologies, protocols and other low-level details. It's the sort of diagram that you could show to non-technical people.- Scope: A single software system.
- Primary elements: The software system in scope.
- Supporting elements: People and software systems directly connected to the software system in scope.
- Intended audience: Everybody, both technical and non-technical people, inside and outside of the software development team.
Step 3 - Coding: calculator
As we will be producing code, it is good practise to set up a code versioning control system. Here we choose Git and the GitHub service.
GitHub
In order to connect with github, we'll make use of a tool called curl. Download the version that matches your OS from http://curl.haxx.se/download.html
For Windows, we'll be using cynwin which is also offered at the previous URL.
After installing curl, run the following command:
curl https://api.github.com
This will return a JSON-formatted list of entry points to query GitHub even further.
To create a repository for our use case of building a calculator, assuming that we have registered with GitHub as user 'willem-vanHeemstraSystems' for an organisation 'vanHeemstraSystems', run the following command to create the 'calculator' repository.
curl -u 'willem-vanHeemstraSystems' https://api.github.com/orgs/vanHeemstraSystems/repos -d '{"name":"calculator", "description":"Our Calculator Repository", "private": true, "has_issues": true, "has_projects": true, "has_wiki":false }'
When prompted for the password belonging to the user, enter its password.
This will return a list in JSON, with amongst others the attribute that describes the URL for cloning the newly created repository.
"clone_url": "https://github.com/vanHeemstraSystems/calculator.git"
With the repository created, we'll now pull it locally by executing the following command:
git clone https://github.com/vanHeemstraSystems/calculator.git
The above command will have created an apparently empty directory 'calculator' locally, but contains a '.git' subdirectory.
Move into the 'calculator' directory, create and add a README.md file with a title of 'calculator' in markdown format.
cd calculator
echo # calculator > README.md
git add README.md
Check the status of the repository.
git status
It will notify the newly added file:
new file: README.md
In addition, we will tag this point in time for future reference.
git tag -a v1.0 -m "version 1.0"
Now that the README.md file has been added to the index of this repository (also known as 'staging'), it is time to commit it and push it back to the master branch, including any tags.
git commit -m "Add README.md"
git push origin master --tags
The README.md file is not stored in the remote repository in the master branch.
You can view it in the browser, at https://www.github.com/vanHeemstraSystems/calculator/
Following Test-Driven Development (TDD) principles, we'll now code the software for the calculator software system.
For the purpose of demonstration, we use different programming languages to achieve the same goal.
Step 3.1 - Coding in C#: calculator
more to follow...
Step 3.2 - Coding in Java: calculator
more to follow...
Step 3.3 - Coding in JavaScript: calculator
more to follow...
Step 3.4 - Coding in Python: calculator
more to follow...
Welcome to GitHub Pages!
This automatic page generator is the easiest way to create beautiful pages for all of your projects. Author your page content here using GitHub Flavored Markdown, select a template crafted by a designer, and publish. After your page is generated, you can check out the new gh-pages branch locally. If you’re using GitHub Desktop, simply sync your repository and you’ll see the new branch.
We’ve crafted some handsome templates for you to use. Go ahead and click 'Continue to layouts' to browse through them. You can easily go back to edit your page before publishing. After publishing your page, you can revisit the page generator and switch to another theme. Your Page content will be preserved.
Creating pages manually
If you prefer to not use the automatic generator, push a branch named gh-pages to your repository to create a page manually. In addition to supporting regular HTML content, GitHub Pages support Jekyll, a simple, blog aware static site generator. Jekyll makes it easy to create site-wide headers and footers without having to copy them across every page. It also offers intelligent blog support and other advanced templating features.
You can @mention a GitHub username to generate a link to their profile. The resulting <a> element will link to the contributor’s GitHub Profile. For example: In 2007, Chris Wanstrath (@defunkt), PJ Hyett (@pjhyett), and Tom Preston-Werner (@mojombo) founded GitHub.
Support or Contact
Having trouble with Pages? Check out our documentation or contact support and we’ll help you sort it out.